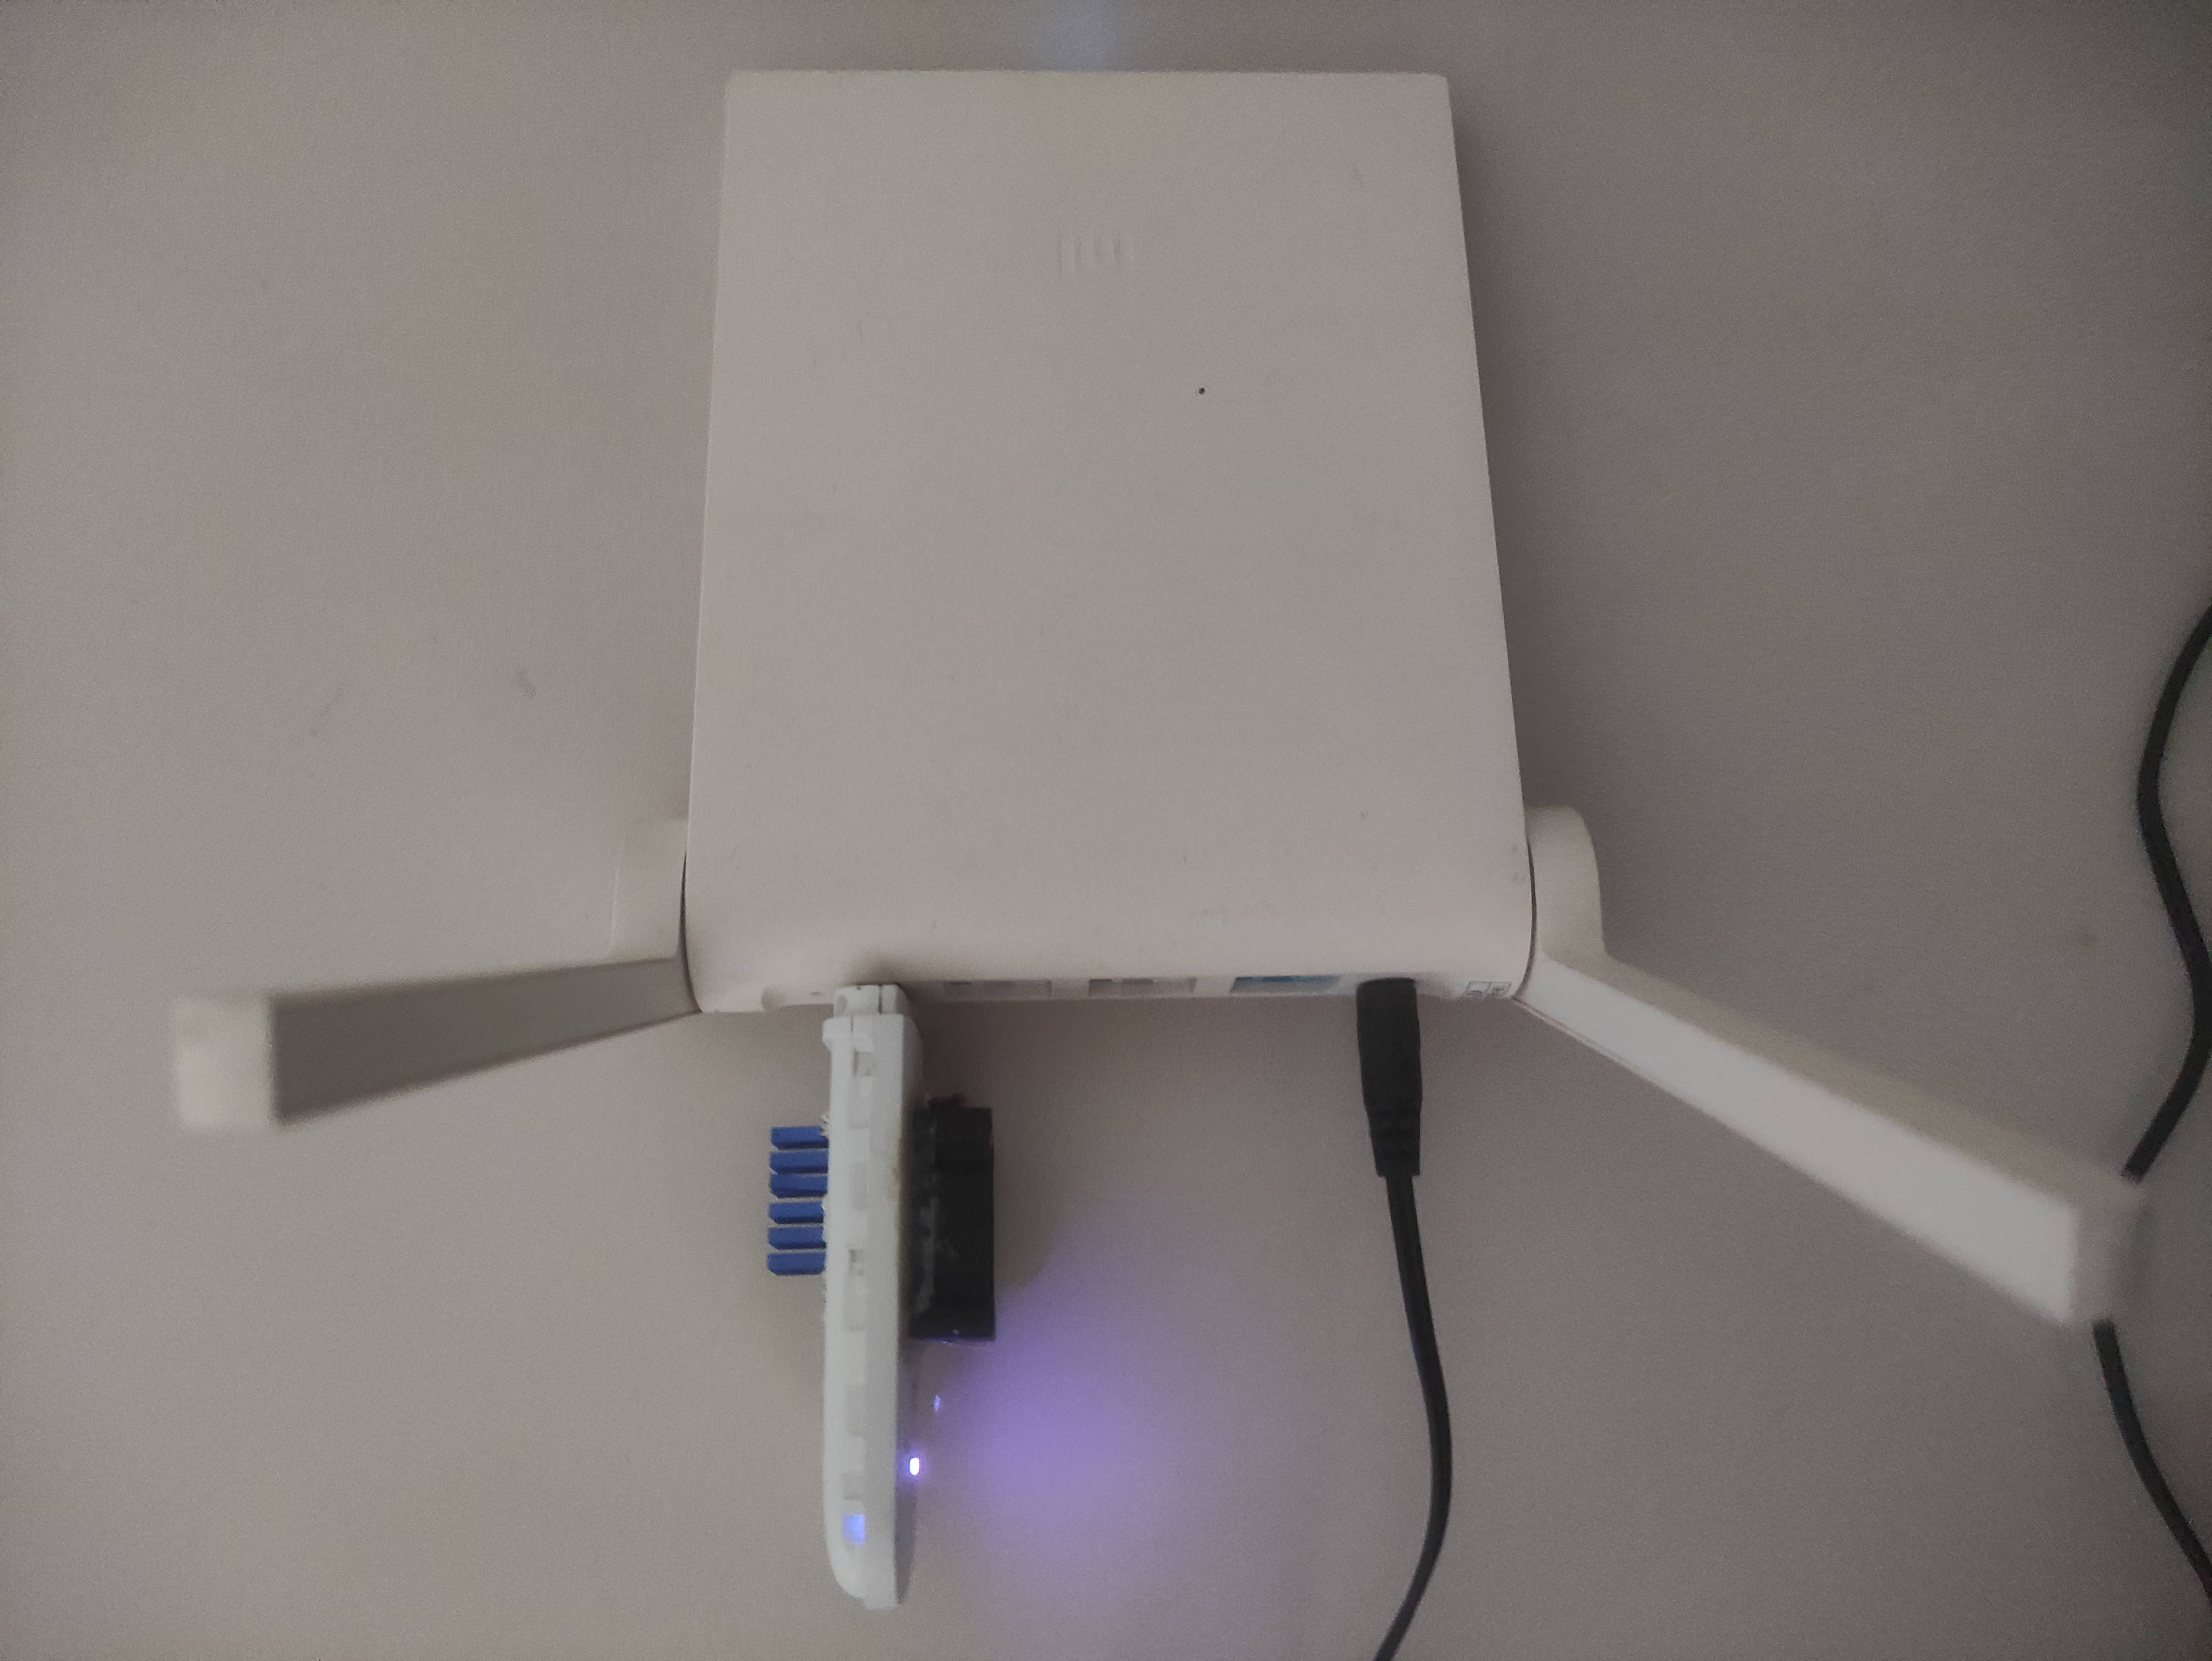
这篇文章记录了作者在给随身WiFi刷入Debian系统的过程中所遇到的具体操作步骤,包括更换软件源、安装typecho、搭建frp实现内网穿透以及安装docker等。文章中详细介绍了每个步骤的操作命令和配置过程,同时搭配了部分命令的截图。作者也分享了自己在部署了typecho博客和docker后的一些使用体验和成果展示。文章内容丰富,可以作为一个教程供读者参考。
此内容由AI生成,不代表个人观点,仅用于文章内容的解释与总结
一、首先给随身wifi刷入Debian系统
1.我是参考酷安的这篇文章: 随身wifi刷入Debian系统(详细图文教程) 有很详细的教程。
2.给随身WiFi debain系统更换源
# 删除并重新创建 /etc/apt/sources.list 文件
sudo rm /etc/apt/sources.list
sudo touch /etc/apt/sources.list

# 写入阿里云的 Debian 软件源到 /etc/apt/sources.list 文件
sudo bash -c 'cat <<EOF > /etc/apt/sources.list
deb http://mirrors.aliyun.com/debian/ bullseye main non-free contrib
deb-src http://mirrors.aliyun.com/debian/ bullseye main non-free contrib
deb http://mirrors.aliyun.com/debian-security/ bullseye-security main
deb-src http://mirrors.aliyun.com/debian-security/ bullseye-security main
deb http://mirrors.aliyun.com/debian/ bullseye-updates main non-free contrib
deb-src http://mirrors.aliyun.com/debian/ bullseye-updates main non-free contrib
deb http://mirrors.aliyun.com/debian/ bullseye-backports main non-free contrib
deb-src http://mirrors.aliyun.com/debian/ bullseye-backports main non-free contrib
EOF'

echo -e '1、默认软件源修改完成!nn'

# 修改 AdoptOpenJDK 软件源列表
sudo sed -i '1c deb http://mirrors.tuna.tsinghua.edu.cn/Adoptium/deb buster main' /etc/apt/sources.list.d/AdoptOpenJDK.list
gpg --keyserver hkp://keyserver.ubuntu.com:80 --recv-keys 843C48A565F8F04B
sudo gpg --armor --export 843C48A565F8F04B | sudo apt-key add -

echo -e 'nn2、AdoptOpenJDK报错修复完成!nn'

# 屏蔽 Mobian 软件源
sudo sed -i '1c #deb http://repo.mobian-project.org/ bullseye main non-free'  /etc/apt/sources.list.d/mobian.list
echo -e '3、Mobian源报已屏蔽!'

echo -e 'nn####################################nn即将开始更新软件源list......n'
sleep 5

# 更新软件源列表
sudo apt-get update
echo -e 'nn4、更新软件源list更新完成!'

echo -e 'nn####################################nn即将开始升级系统程序至最新版......'
sleep 5

# 持保 openssh-server 包不被更新
sudo apt-mark hold openssh-server

# 升级系统所有包
sudo apt-get -y upgrade

# 解除 openssh-server 包的持保
sudo apt-mark unhold openssh-server

echo -e '5、系统升级完成!'
二、给随身wifi刷入typecho
这里用全自动安装脚本,自动安装配置Nginx MySQL PHP,安装完毕大约占用500MB空间。
wget -O /root/install_typecho.sh https://www.weirain.com/install_typecho.sh && chmod +x /root/install_typecho.sh && /root/install_typecho.sh备份命令 /root/backup_typecho.sh
还原命令 /root/restore_typecho.sh
三、搭建frp实现内网穿透
1.服务端配置 使用frp一键部署脚本, 项目地址
Aliyun(国内推荐)
wget https://code.aliyun.com/MvsCode/frps-onekey/raw/master/install-frps.sh -O ./install-frps.sh
chmod 700 ./install-frps.sh
./install-frps.sh install
Gitee
wget https://gitee.com/mvscode/frps-onekey/raw/master/install-frps.sh -O ./install-frps.sh
chmod 700 ./install-frps.sh
./install-frps.sh install
Github
wget https://raw.githubusercontent.com/mvscode/frps-onekey/master/install-frps.sh -O ./install-frps.sh
chmod 700 ./install-frps.sh
./install-frps.sh install
Uninstall(卸载)
./install-frps.sh uninstallUpdate(更新)
./install-frps.sh update服务端相关命令
frps start #启动frps服务端
frps stop #停止frps服务端
frps restart #重启frps服务端
frps status #显示frps状态
frps config #配置frps服务端
frps version #显示frps版本
2.步骤说明:
2.github (default)
输入下载frp服务端配置文件的服务器,默认GitHub
Please input frps bind_port1-65535:
输入frp提供服务的端口,用于服务器端和客户端通信,默认5443
Please input frps vhost_http_port1-65535:
输入frp进行http穿透的http服务端口,默认80
Please input frps vhost_https_port1-65535:
输入frp进行https穿透的https服务端口,默认443
Please input frps dashboard_port [1-65535]
(Default : 6443):
输入frp的控制台服务端口,用于查看frp工作状态,默认6443
Please input frps dashboard_user(Default :admin):
输入frp的控制台服务账号,默认admin
Please input frps dashboard_pwd(Default :):
输入frp的控制台服务密码,默认是随机生成的
Please input frps token(Default :):
输入frp服务器和客户端通信的密码,默认是随机生成的
Please input frps subdomain_host(Default :...):
输入frp服务器自定义域名,支持自定义二次域名,默认是服务器IP地址
Please input frps max_pool_count [1-200]
(Default : 50):
设置每个代理可以创建的连接池上限,默认50
Please select log_level
1: info (default)
2: warn
3: error
4: debug
设置日志等级,4个选项,默认是info
Please input frps log_max_days [1-30]
(Default : 3 day):
设置日志保留天数,范围是1到30天,默认保留3天
Please select log_file
1: enable (default)
2: disable
设置是否开启日志记录,默认开启,开启后日志等级及保留天数生效,否则等级和保留天数无效
Please select tcp_mux
1: enable (default)
2: disable
客户端和服务器端之间的连接支持多路复用,默认开启
Please select kcp support
1: enable (default)
2: disable
选择是否开启kcp 协议,默认开启,弱网环境下传输效率提升明显,但会有额外的流量消耗
启动成功后自定义域名:6443即可访问控制台,服务端就安装成功了。
- 客户端配置
首先,前往Github上下载frp客户端文件, 前往下载 ,我的随身WiFi是arm64的,我下载的版本是0.51.3。
3.1.配置frp
解压frp_*_linux_arm.tar.gz,修改frpc.ini
[common]
server_addr = xx.xx.xx.xx
公网服务器ip
server_port = 5443
与服务器bind_port一致
token = MaOB49PlIgfQDuTy
与服务器token一致
[wifi]
type = http
连接协议 ssh http https tcp等
local_ip = 192.168.2.233
内网服务器ip 为本地web服务对应地址
local_port = 8080
本地web服务端口
remote_port = 6000
自定义访问内部端口
custom_domains =xx.xx
绑定域名
3.2.运行frp
根据自己的需求把frpc和frpc.ini上传到运行的目录,root权限输入
./frpc -c ./frpc.ini3.3.远程访问
此时,就可以在外网访问网内资源了。
3.4.frpc后台运行并自启
sudo nano /etc/systemd/system/frpc.service

把下面的内容写入frpc.service中

[Unit]
Description=FRPC Client
After=network.target

[Service]
User=user
WorkingDirectory=/home/user/frp
ExecStart=/home/user/frp/frpc -c /home/user/frp/frpc.ini
Restart=always
RestartSec=5s
Type=simple
# StandardOutput=syslog # 这两行可以删除,因为它们已经被废弃
# StandardError=syslog

[Install]
WantedBy=multi-user.target

然后运行下面的命令
sudo systemctl daemon-reload

sudo systemctl start frpc

sudo systemctl status frpc

sudo systemctl enable frpc
根据自己的需求改就好。
四、给随身wifi安装docker
1.从软件源一键安装docker
apt install -y docker.io docker-compose自启动Docker
systemctl enable --now docker2.Docker官方一键安装脚本
使用官方源安装(国内直接访问较慢)
curl -fsSL https://get.docker.com | bash使用阿里源安装
curl -fsSL https://get.docker.com | bash -s docker --mirror Aliyun使用中国区Azure源安装
curl -fsSL https://get.docker.com | bash -s docker --mirror AzureChinaCloud自启动Docker
systemctl enable --now docker一键安装最新版Docker Compose:
COMPOSE_VERSION=`git ls-remote https://github.com/docker/compose | grep refs/tags | grep -oP "[0-9]+\.[0-9][0-9]+\.[0-9]+$" | sort --version-sort | tail -n 1`
sh -c "curl -L https://github.com/docker/compose/releases/download/v${COMPOSE_VERSION}/docker-compose-`uname -s`-`uname -m` > /usr/local/bin/docker-compose"
chmod +x /usr/local/bin/docker-compose
到这里就安装好docker了。
随身wifi目前已经稳定运行了十多天了,很不错。
我给随身WiFi部署了一个typecho博客,安装了docker,部署了哔哩哔哩自动签到,直播开播动态通知(ddbot)。折腾的过程很有趣。


https://blog.weichky.com
头像:https://assets.weichky.com/imgs/favicon.png
描述:物不可穷也,故受之以未济。本站友链地址(已添加贵站)https://blog.weichky.com/link.html
我现在是想在另1个脚本里面用
https://xubai-owo.github.io/post/cang-shu-ru-fa-%28Hamster%29%20-zi-yong-jiao-ben.html
这个里面Deeplx中英自动翻译脚本
我没有deeplx_key
我要怎么修改这个脚本呢,我用AI帮我改了几次没弄成功,请大佬有时间的时候指点12啊?